
News
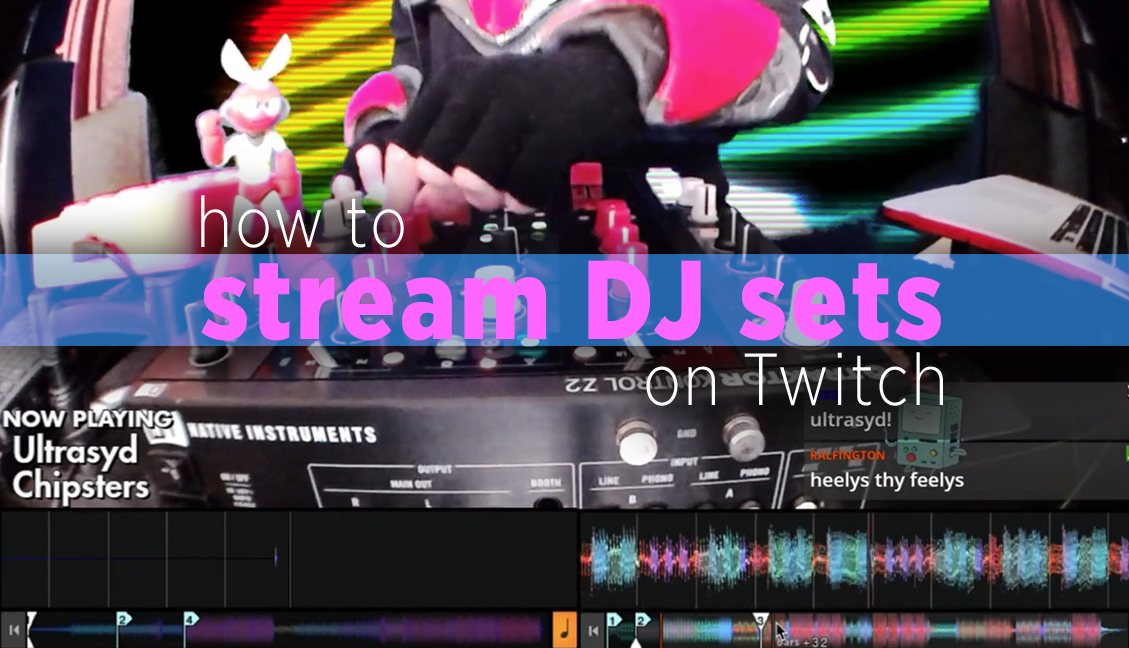
Stream DJ Sets On Twitch: Cutman’s Ultimate DJ Streaming Guide
Apr
Streaming a DJ set can be an awesome and fulfilling way to get more time behind the decks and build an audience online. When I moved to Philadelphia from New York back in 2012. I couldn’t find a residency to save my life. So, I started my own “digital residency” – first on the DJ website Mixify (R.I.P.) and later I was scouted to be one of Twitch’s first music partners.
There are a ton of ways to get your DJ gear piping into the Internet. It’s possible to begin streaming with the gear you have, or with minimal investment. I’ll show you a simple and advanced setup in this guide.
We’ll be using the free streaming software OBS Studio, available on OBSProject.com.
A BASIC DJ LIVESTREAMING SETUP
This setup will get you a decent looking, good sounding stream using one computer. You’ll need
- DJ Laptop
- DJ Controller
- Webcam
- Microphone*
- USB Audio Interface*
*optional, but recommended
THE LAPTOP
I DJ on a 2015 15″ MacBook Pro, i7 processor with 16GB of RAM. RAM isn’t too important, but the CPU is, since we’re going to be performing and streaming on this machine. Conserve CPU by closing all other programs, especially web browser tabs.
NOTE: The silent CPU-killer is videos playing in a web browser. Twitch automatically starts playing your own stream when you visit your dashboard. Make sure you close the window or pause the video before going live.
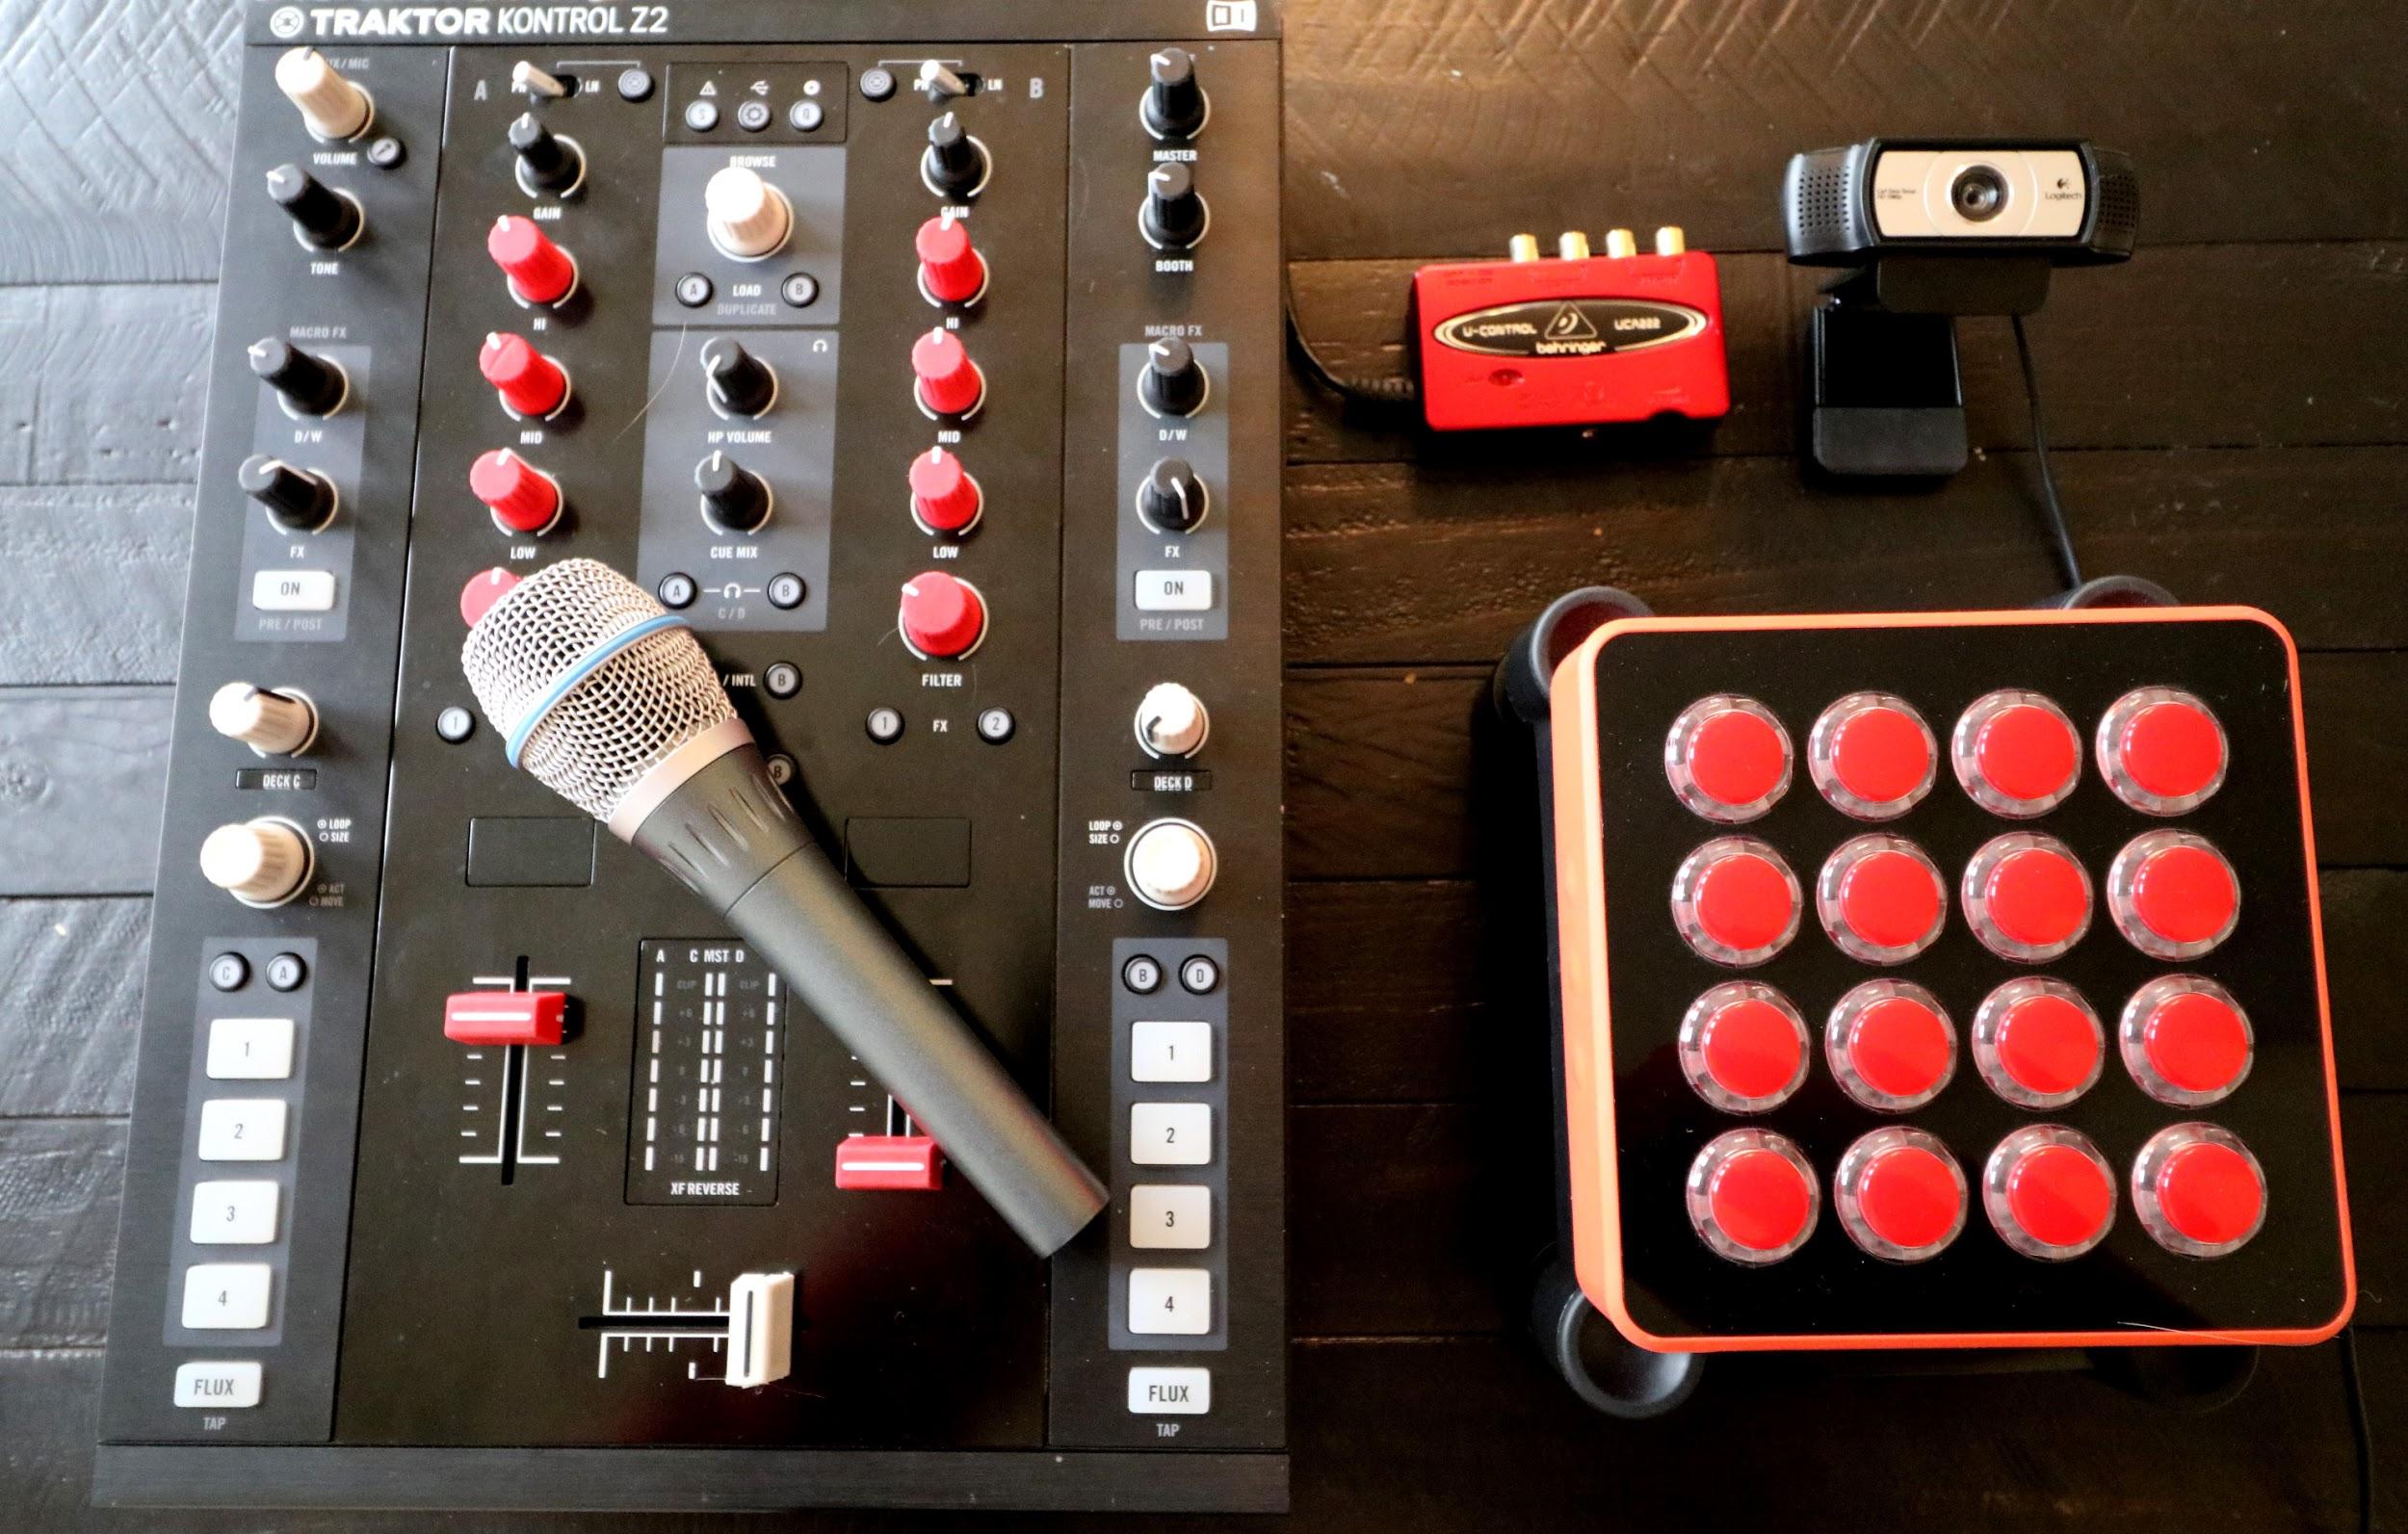
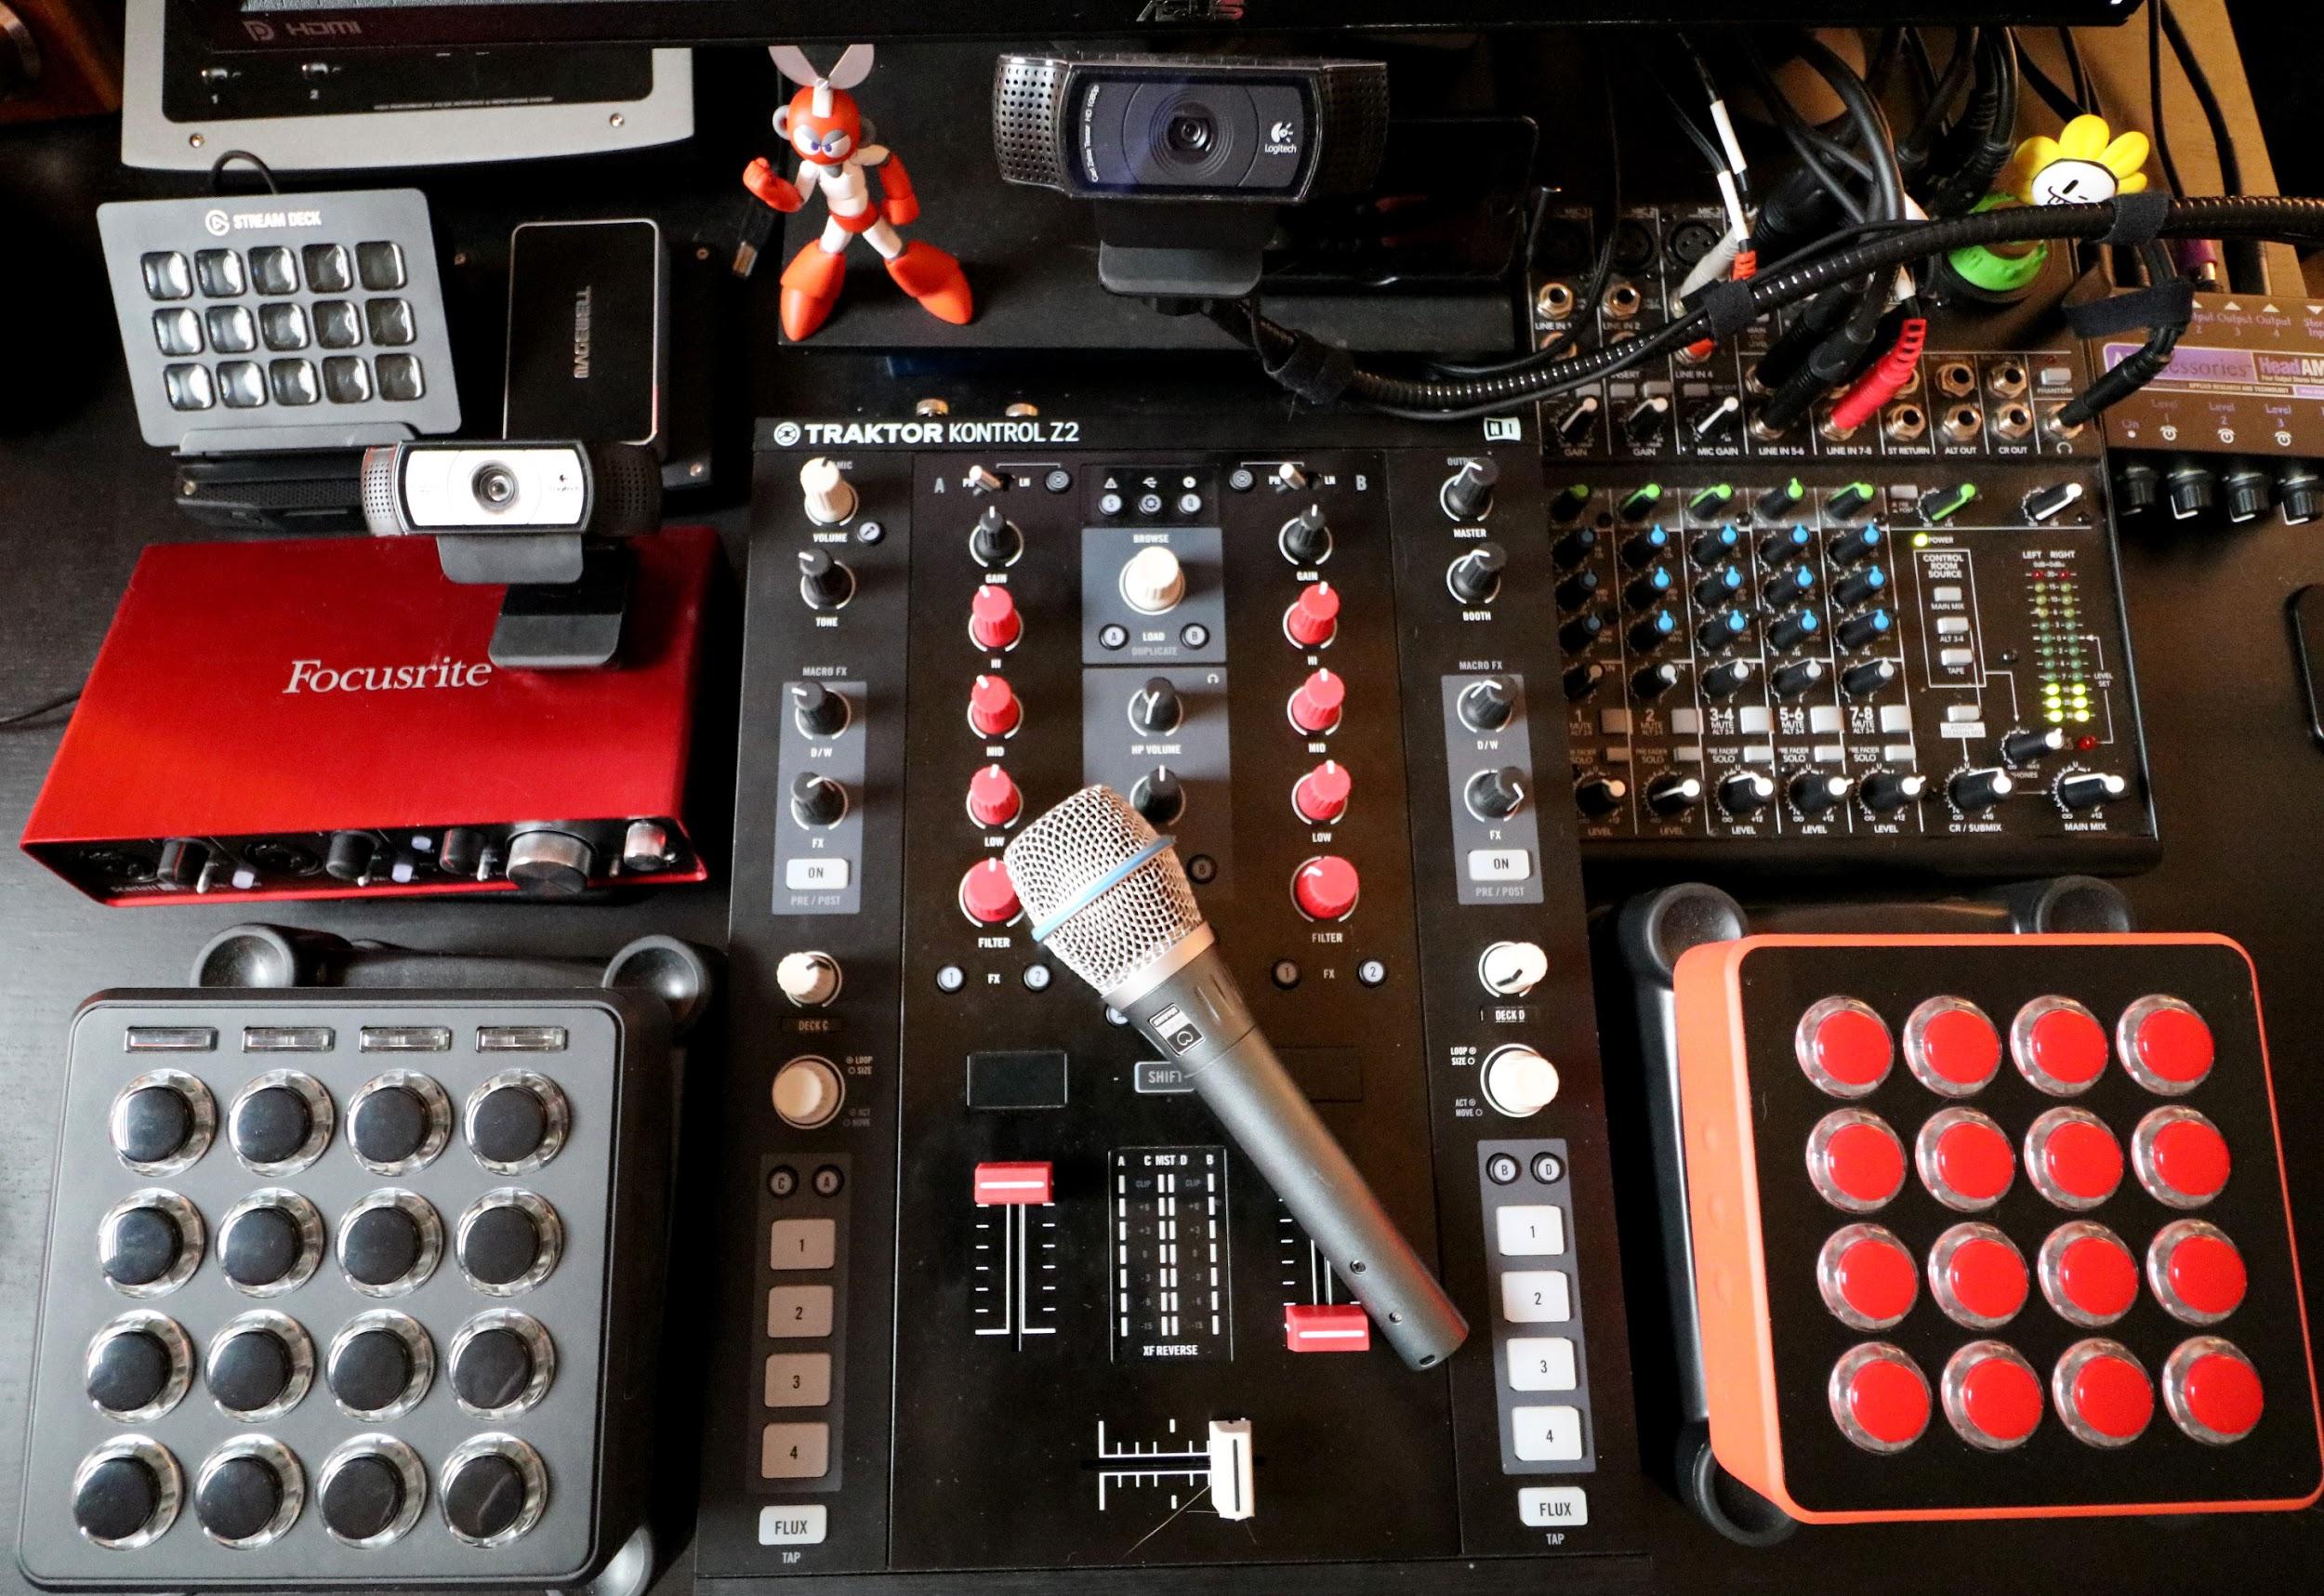
THE CONTROLLER
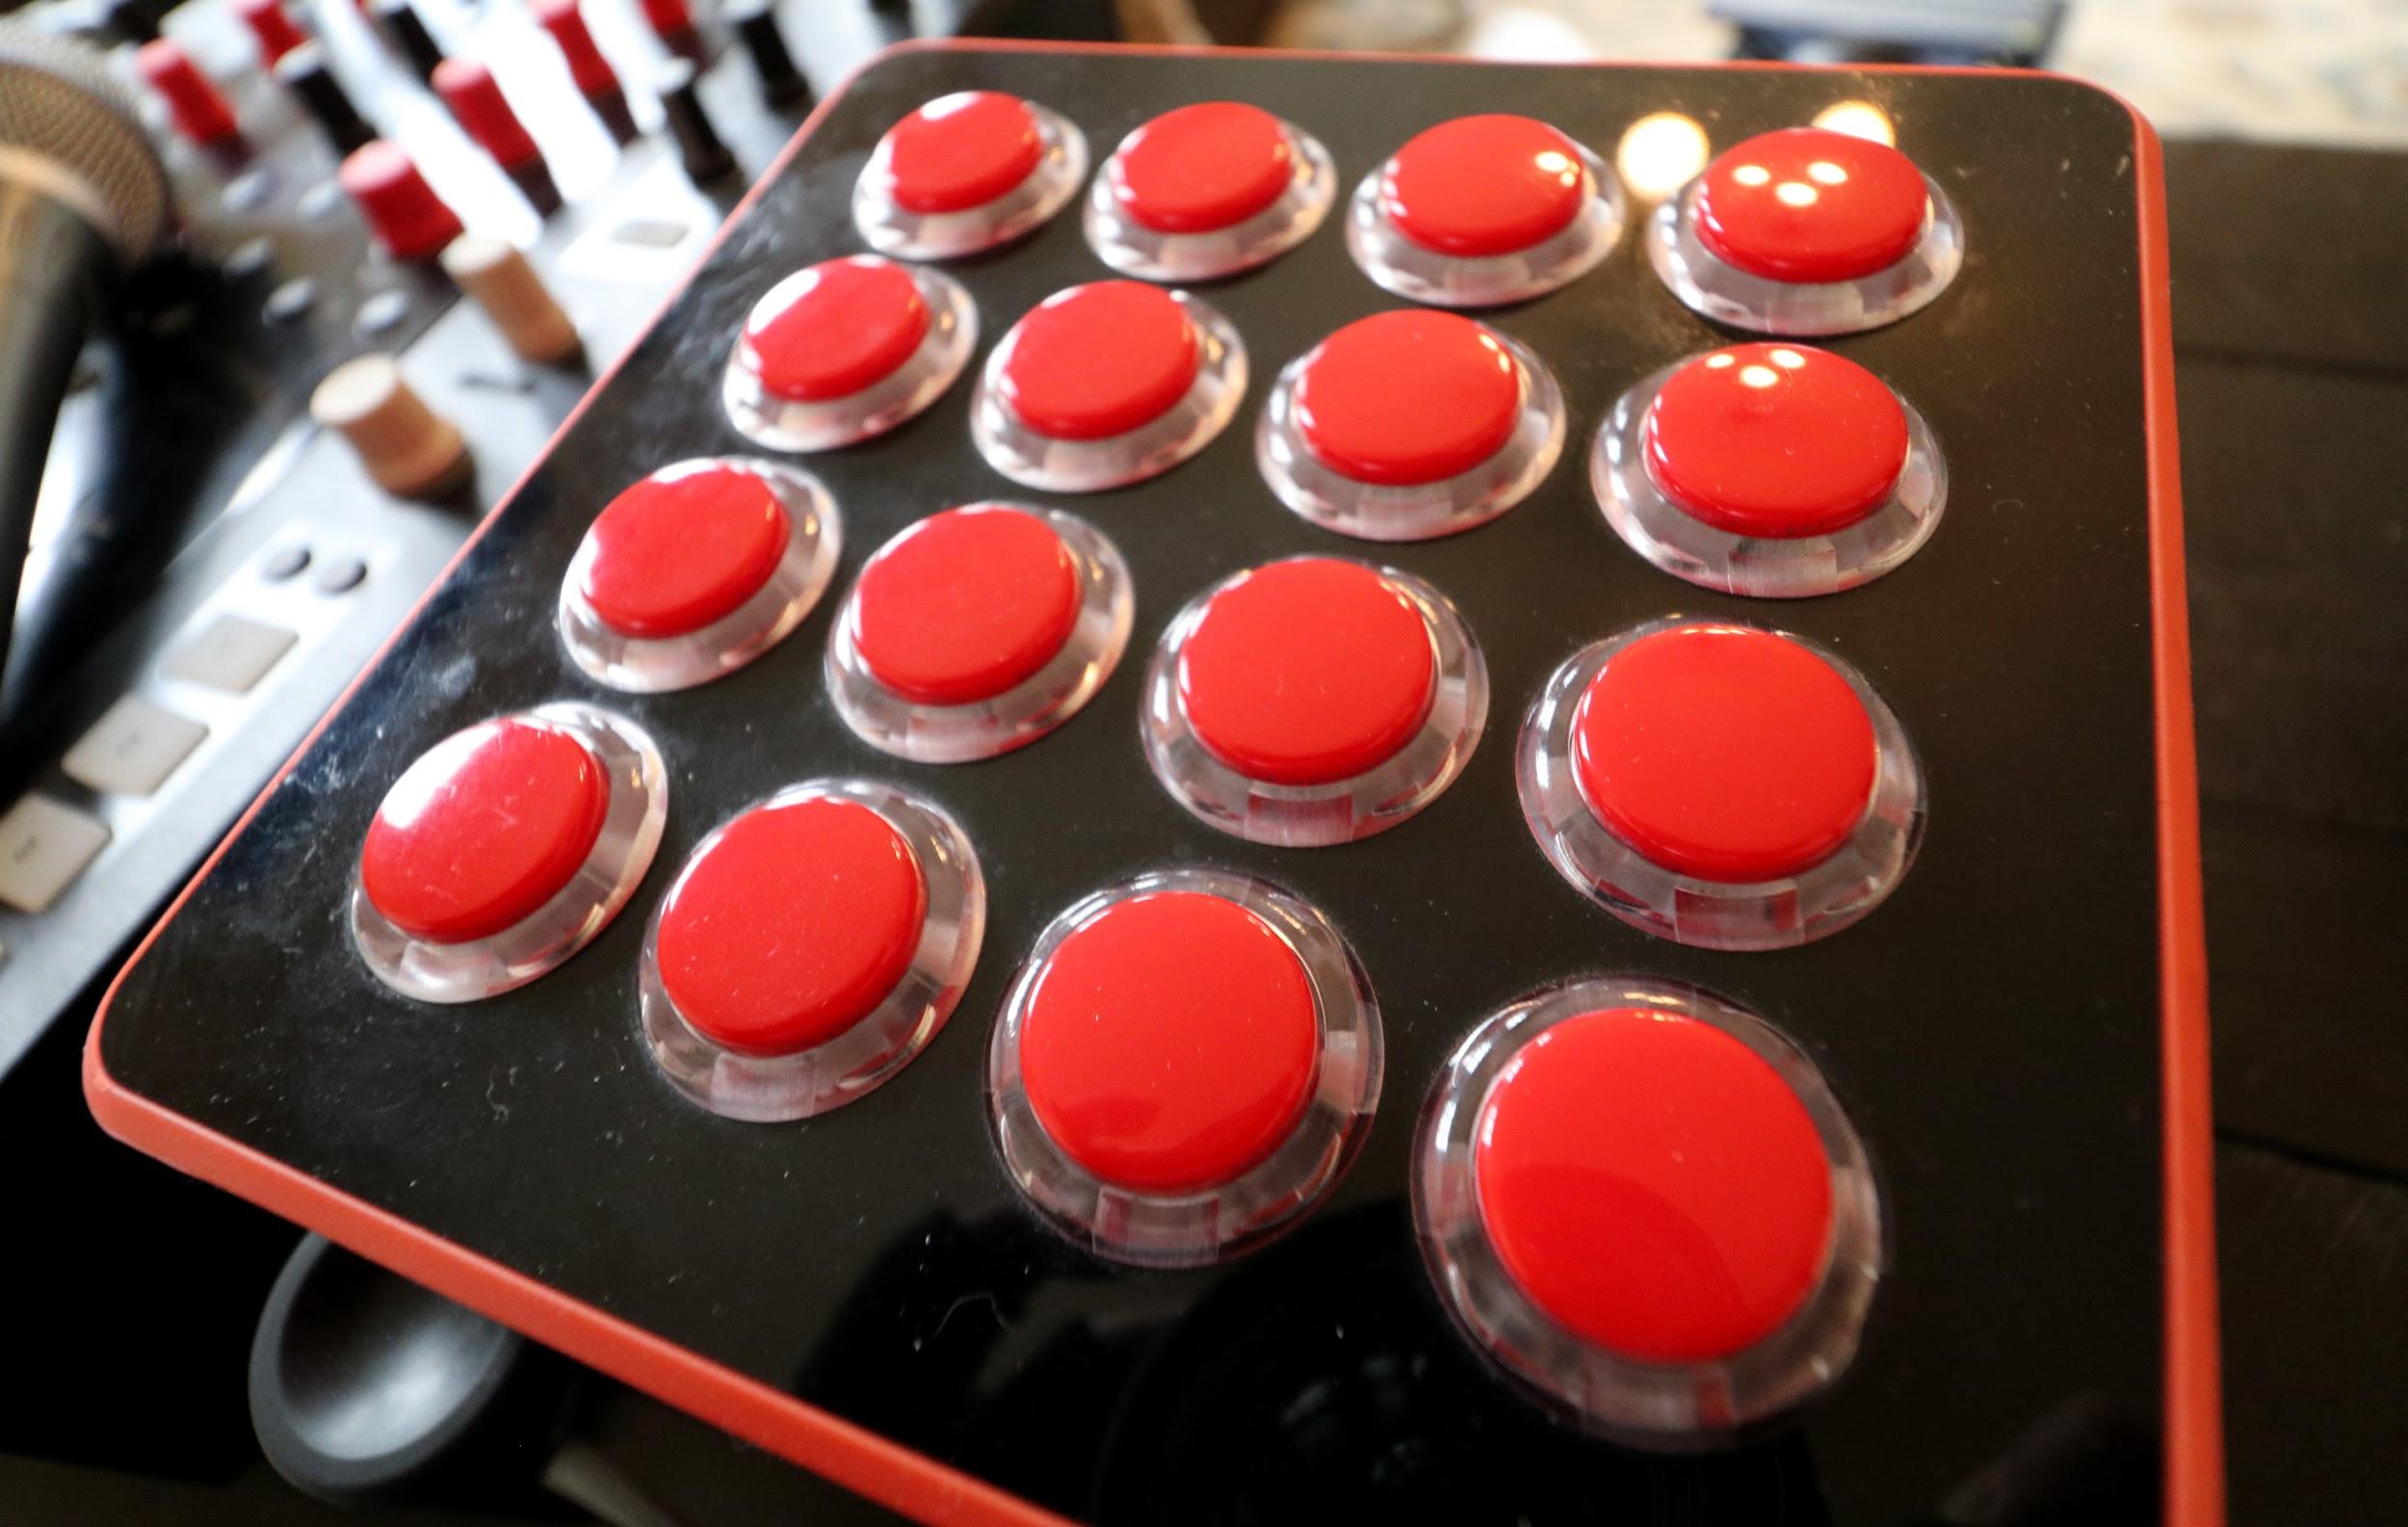
I use a Traktor Kontrol Z2 and Midi Fighter Spectra. The headphone level on the Z2 is key, as we don’t want to adjust the master volume much during our stream. In my experience, volume differences are WAY more noticeable on a stream than in a live setting. A tiny bump can be the difference between sounding great and total chaos.
WEBCAM
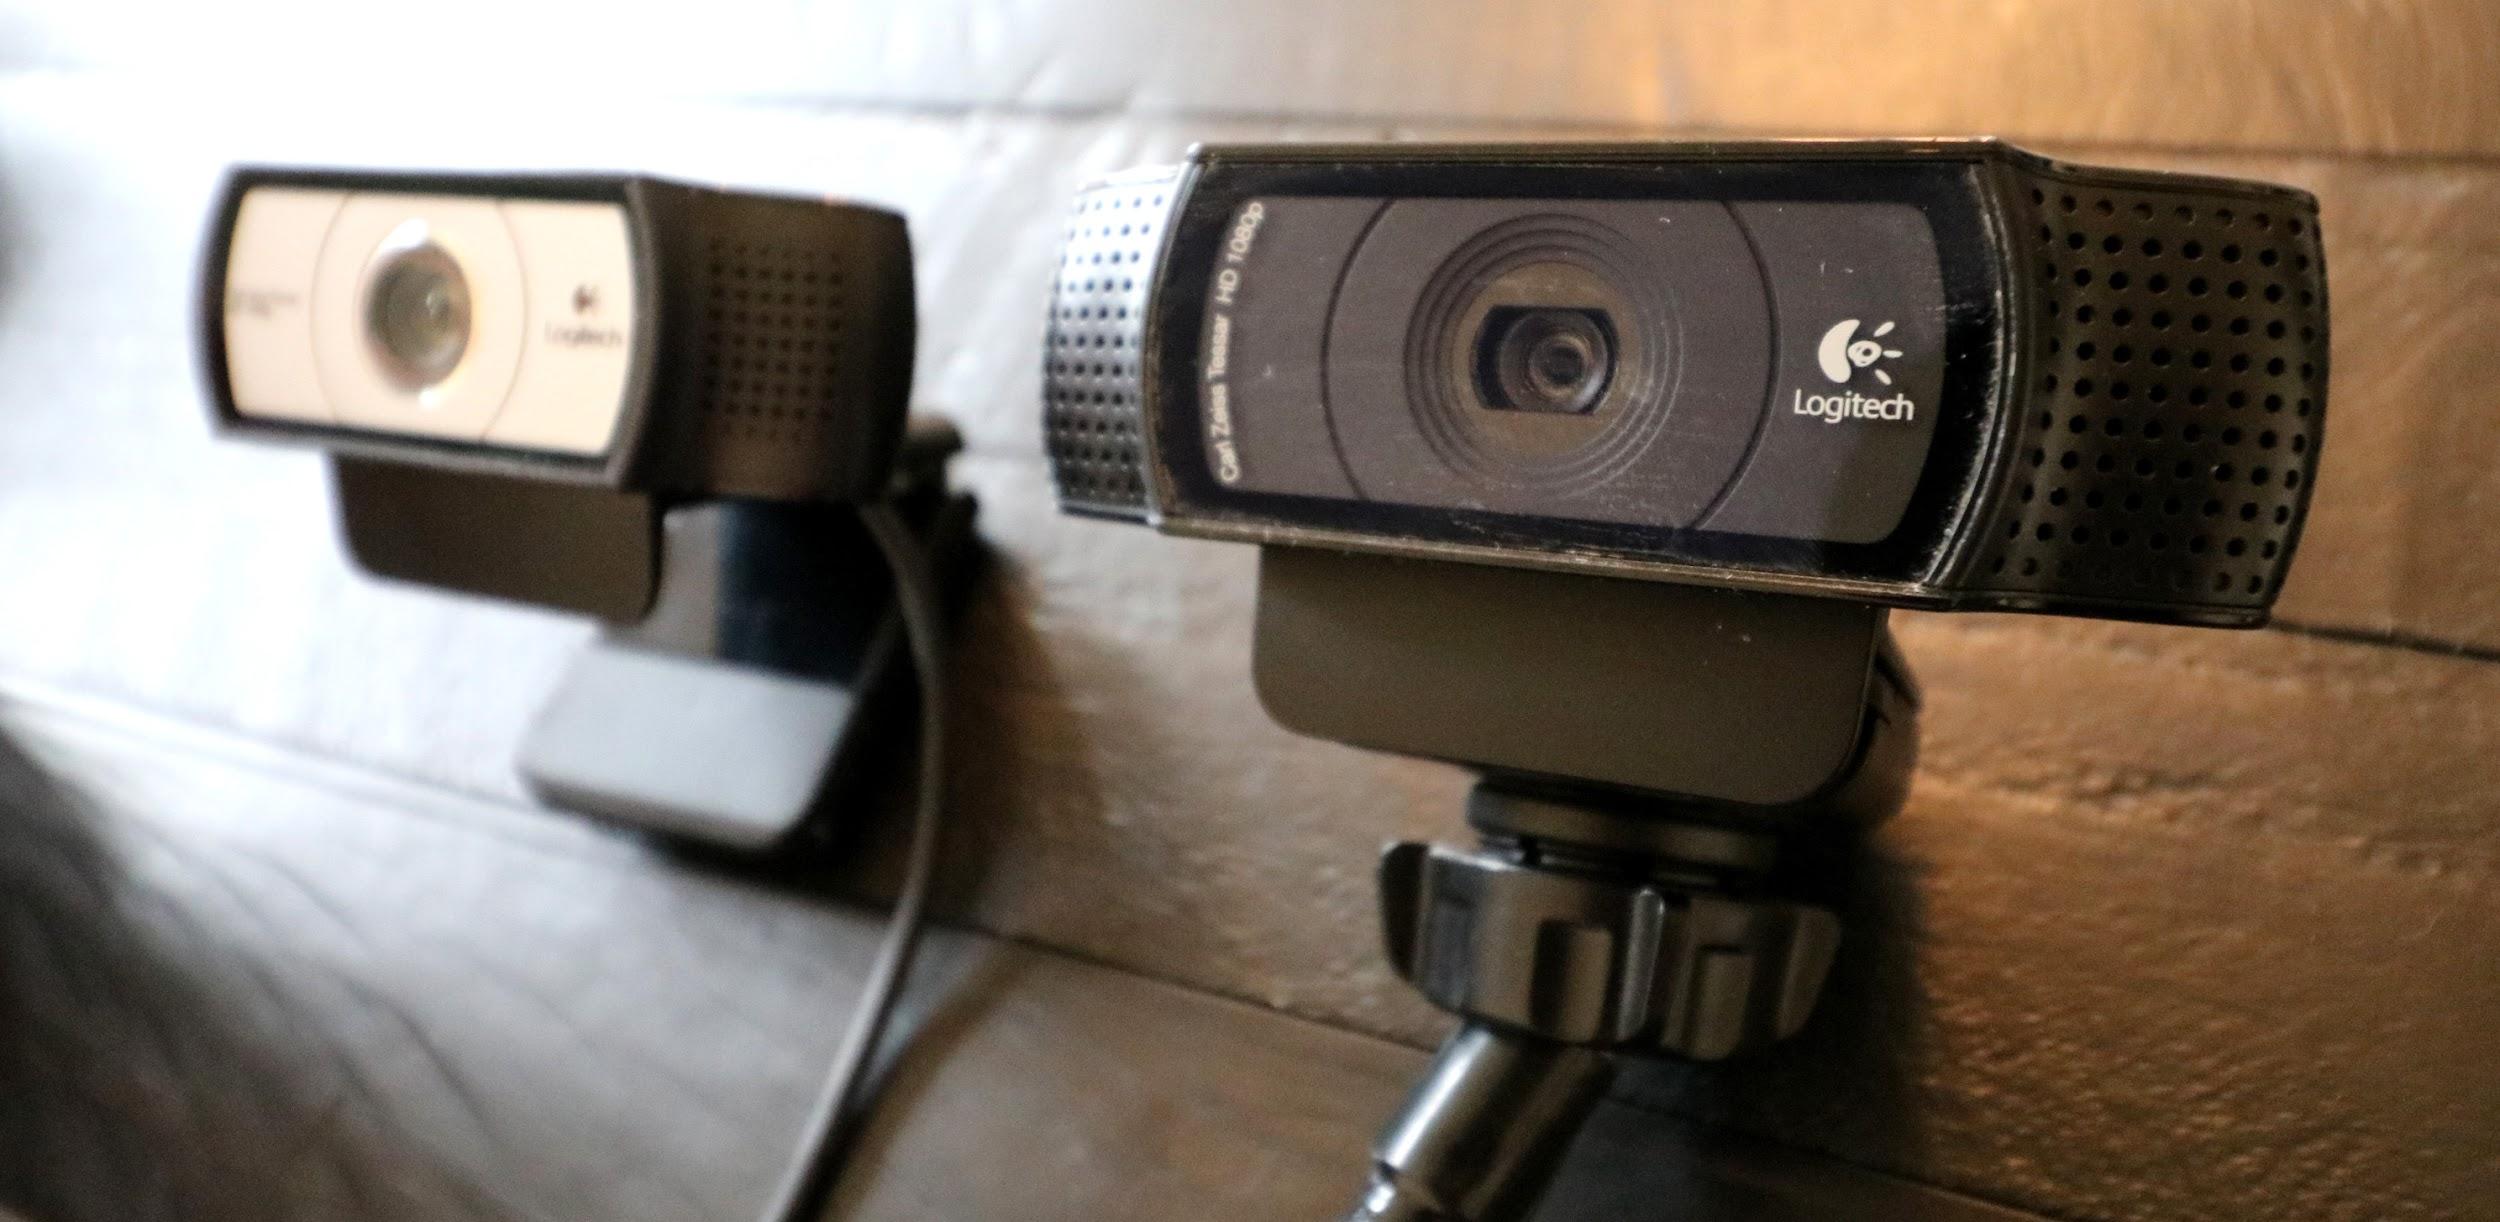
Twitch Terms of Service requires a video of the performance. I usually point my camera at my mixer, but you could set it anywhere you like, as long as the stream can see what you’re doing. I recommend the Logitech C920––it’s cheap, it looks great, and it’s essentially plug-and-play. You can install drivers to get an interface where you can zoom and adjust more parameters.
MICROPHONE
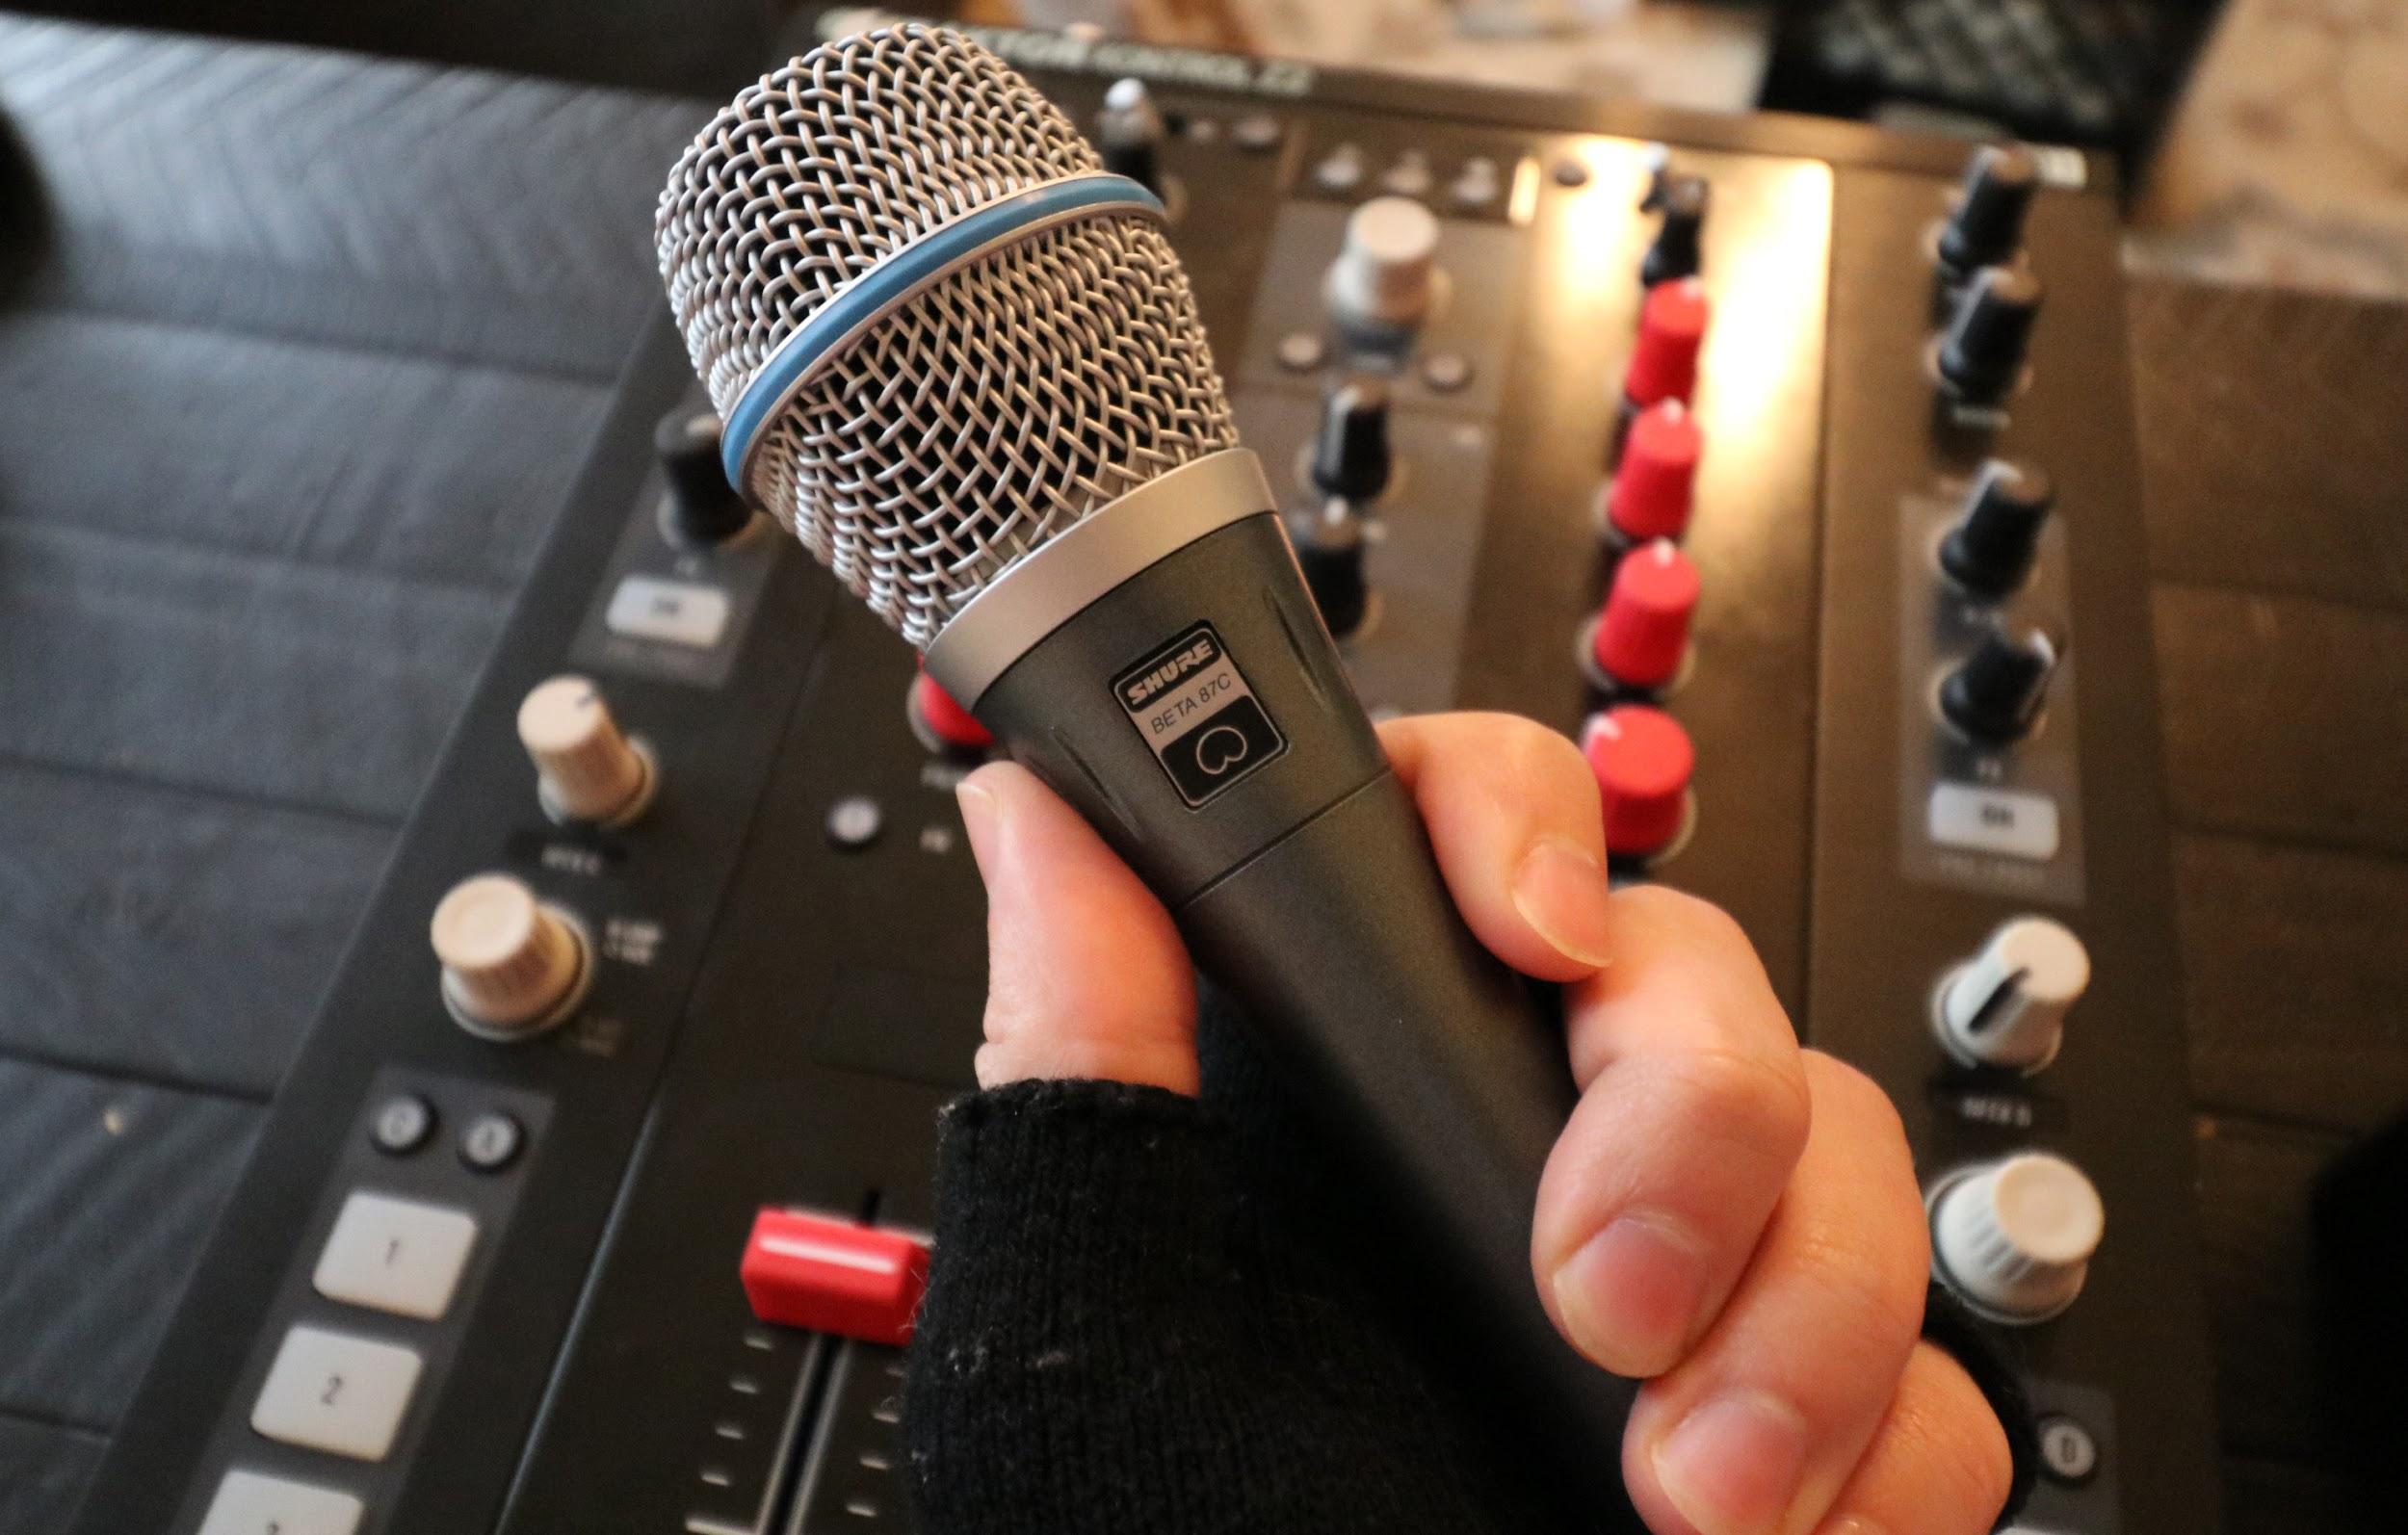
The most reliable way to incorporate a microphone into a streaming set is through the DJ mixer. I love the Z2 for its microphone mute button. Brief voice-over is a very effective way to interact and build rapport with your viewers. While it’s possible to use a USB microphone, having it in the mixer is more reliable.
REMEMBER: Your audience is not at the club. Streaming audio is prone to distortion, so be sure to sound check if you’re planning to get loud on the mic.
AUDIO INTERFACE

Having a dedicated USB audio interface for your stream will let you deliver consistent, high quality sound. I recommend getting a cheap USB audio interface like the Behringer UCA222 or Focusrite Scarlett 2i2 to capture the audio for the stream. Run the main or booth output from your mixer to your audio interface, and adjust the volume on your mixer until you see it coming in around -5.0 in OBS. While redlining on your mixer doesn’t always sound bad, being too loud in OBS can cause very noticeable distortion.
TIP: Some controllers are supported by a feature called Desktop Audio. This will allow audio to be used by OBS without an audio interface. If your controller supports this, you can stream without buying a second interface. However, not all controllers will work, and their compatibility is different on Mac and Windows. I’ve confirmed my Traktor Z2 works as Desktop Audio with my Macbook.
The More Advanced DJ Streaming Setup
This setup uses two computers – one for DJing and one for streaming. It can support multiple cameras, more flexible audio routing, and sustain 1080p or 60fps. We’ll use everything from the basic setup, and add these:
- Streaming Computer
- Multiple Webcams / Cameras
- Capture Device
- Mixing Board
- Stream Controller
STREAMING COMPUTER
The best thing you can do for the stability and quality of your stream is to have a dedicated streaming computer. This machine can put all of its resources into streaming, and as a result can produce better quality video, allow more cameras, and incorporate visuals or interactive elements.
WEBCAM / CAMERAS
Multiple cameras are a great way to make your stream more engaging. The traditional two-camera streaming setup is a large camera on the mixer and a smaller one on the DJ. It’s up to you how you want to set it up.
WARNING: Even if you have plenty of USB ports, there is a limit to how many USB cameras each computer can run at one time. It was a struggle to keep my stream running with running four cameras. When I dropped back to three, my rig became much more reliable.
CAPTURE DEVICES / CAPTURE CARDS
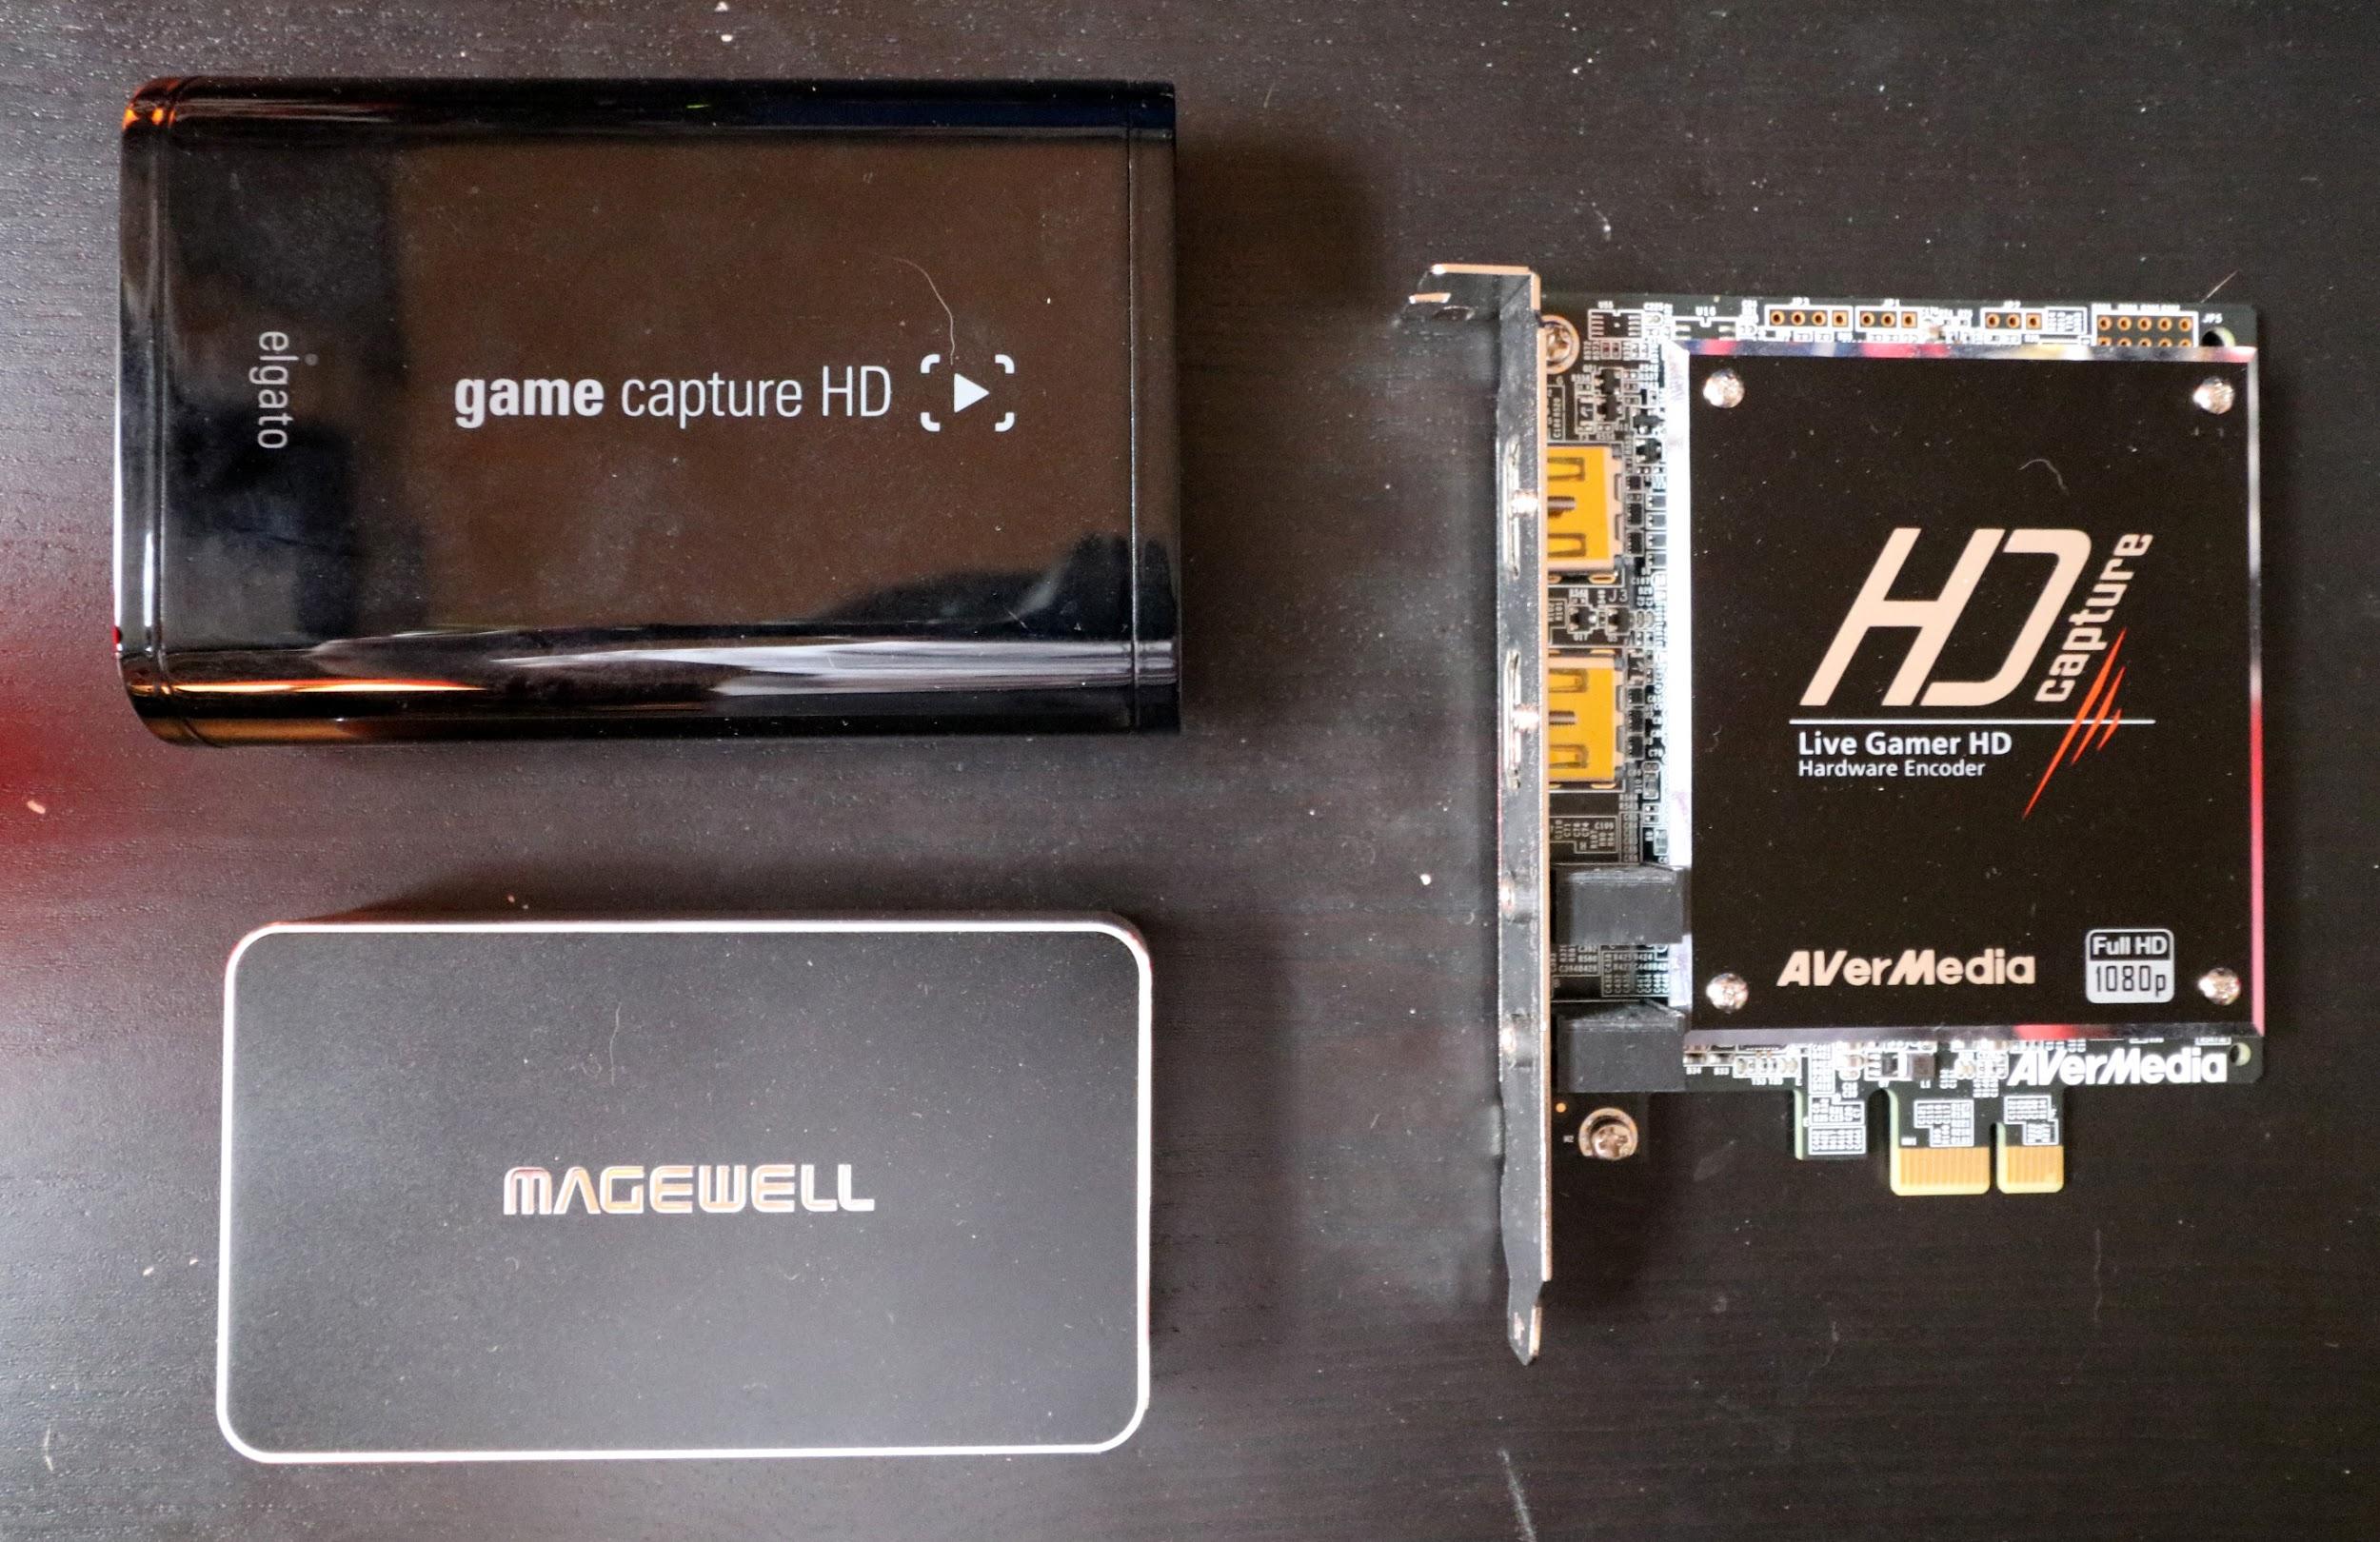
If you want to hook up a camera that isn’t USB, you can use a capture device. USB capture devices usually have latency, which can be a problem for what we’re doing. USB 3.0 capture devices are usually latency free, but are also more expensive.
Internal capture devices (aka capture cards) are reliable and don’t have latency, but require a desktop computer. AverMedia makes an affordable internal capture device called Live Gamer HD, and Magewell makes industry-level devices, both internal and USB. If cost is not an object, the Magewell USB 3.0 Capture Plus is a USB 3.0 capture card that combines the convenience of a USB capture device with the latency-free performance of an internal card. Plus, the video quality is flawless.
If you stick with USB cameras, you may not need a capture device at all.
MIXING BOARD
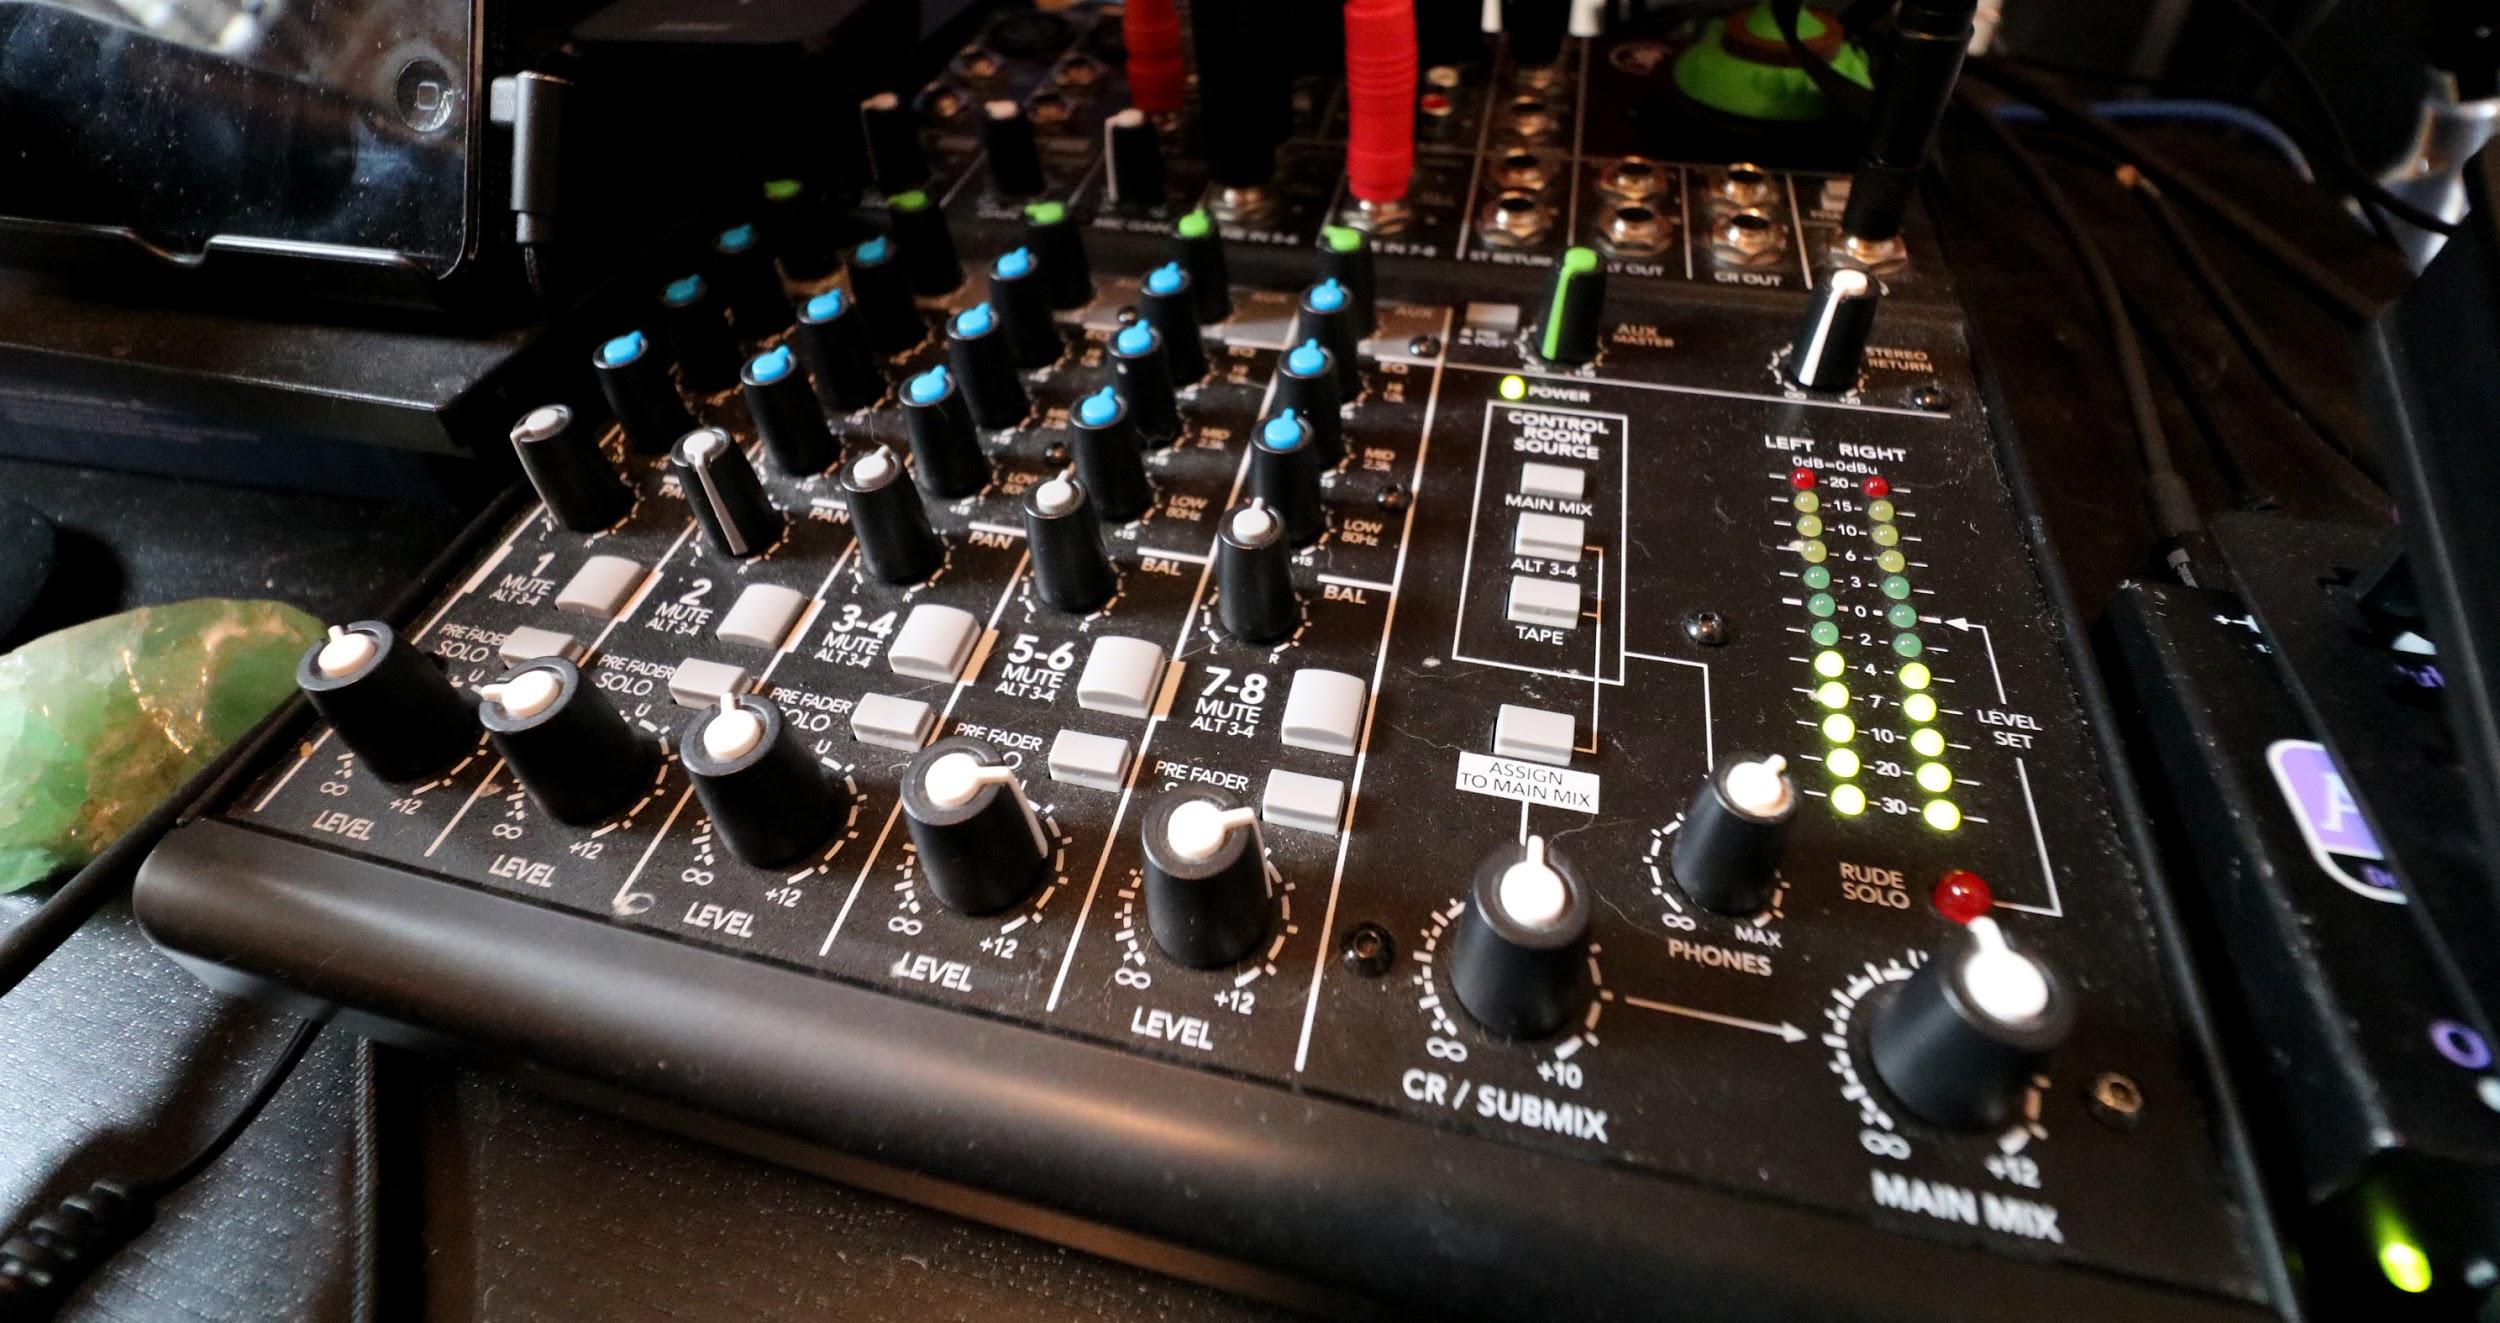
In my studio, I have a Mackie VLZ4-802 mixing board that I run my DJ setup into. This drives my studio speakers and also lets me hook up other inputs––like an MP3 player that I can send to the stream when I’m not on the decks. I use the headphone output on the mixing board to send sound to my audio interface, and can monitor levels with the lights on the board.
STREAM CONTROLLER
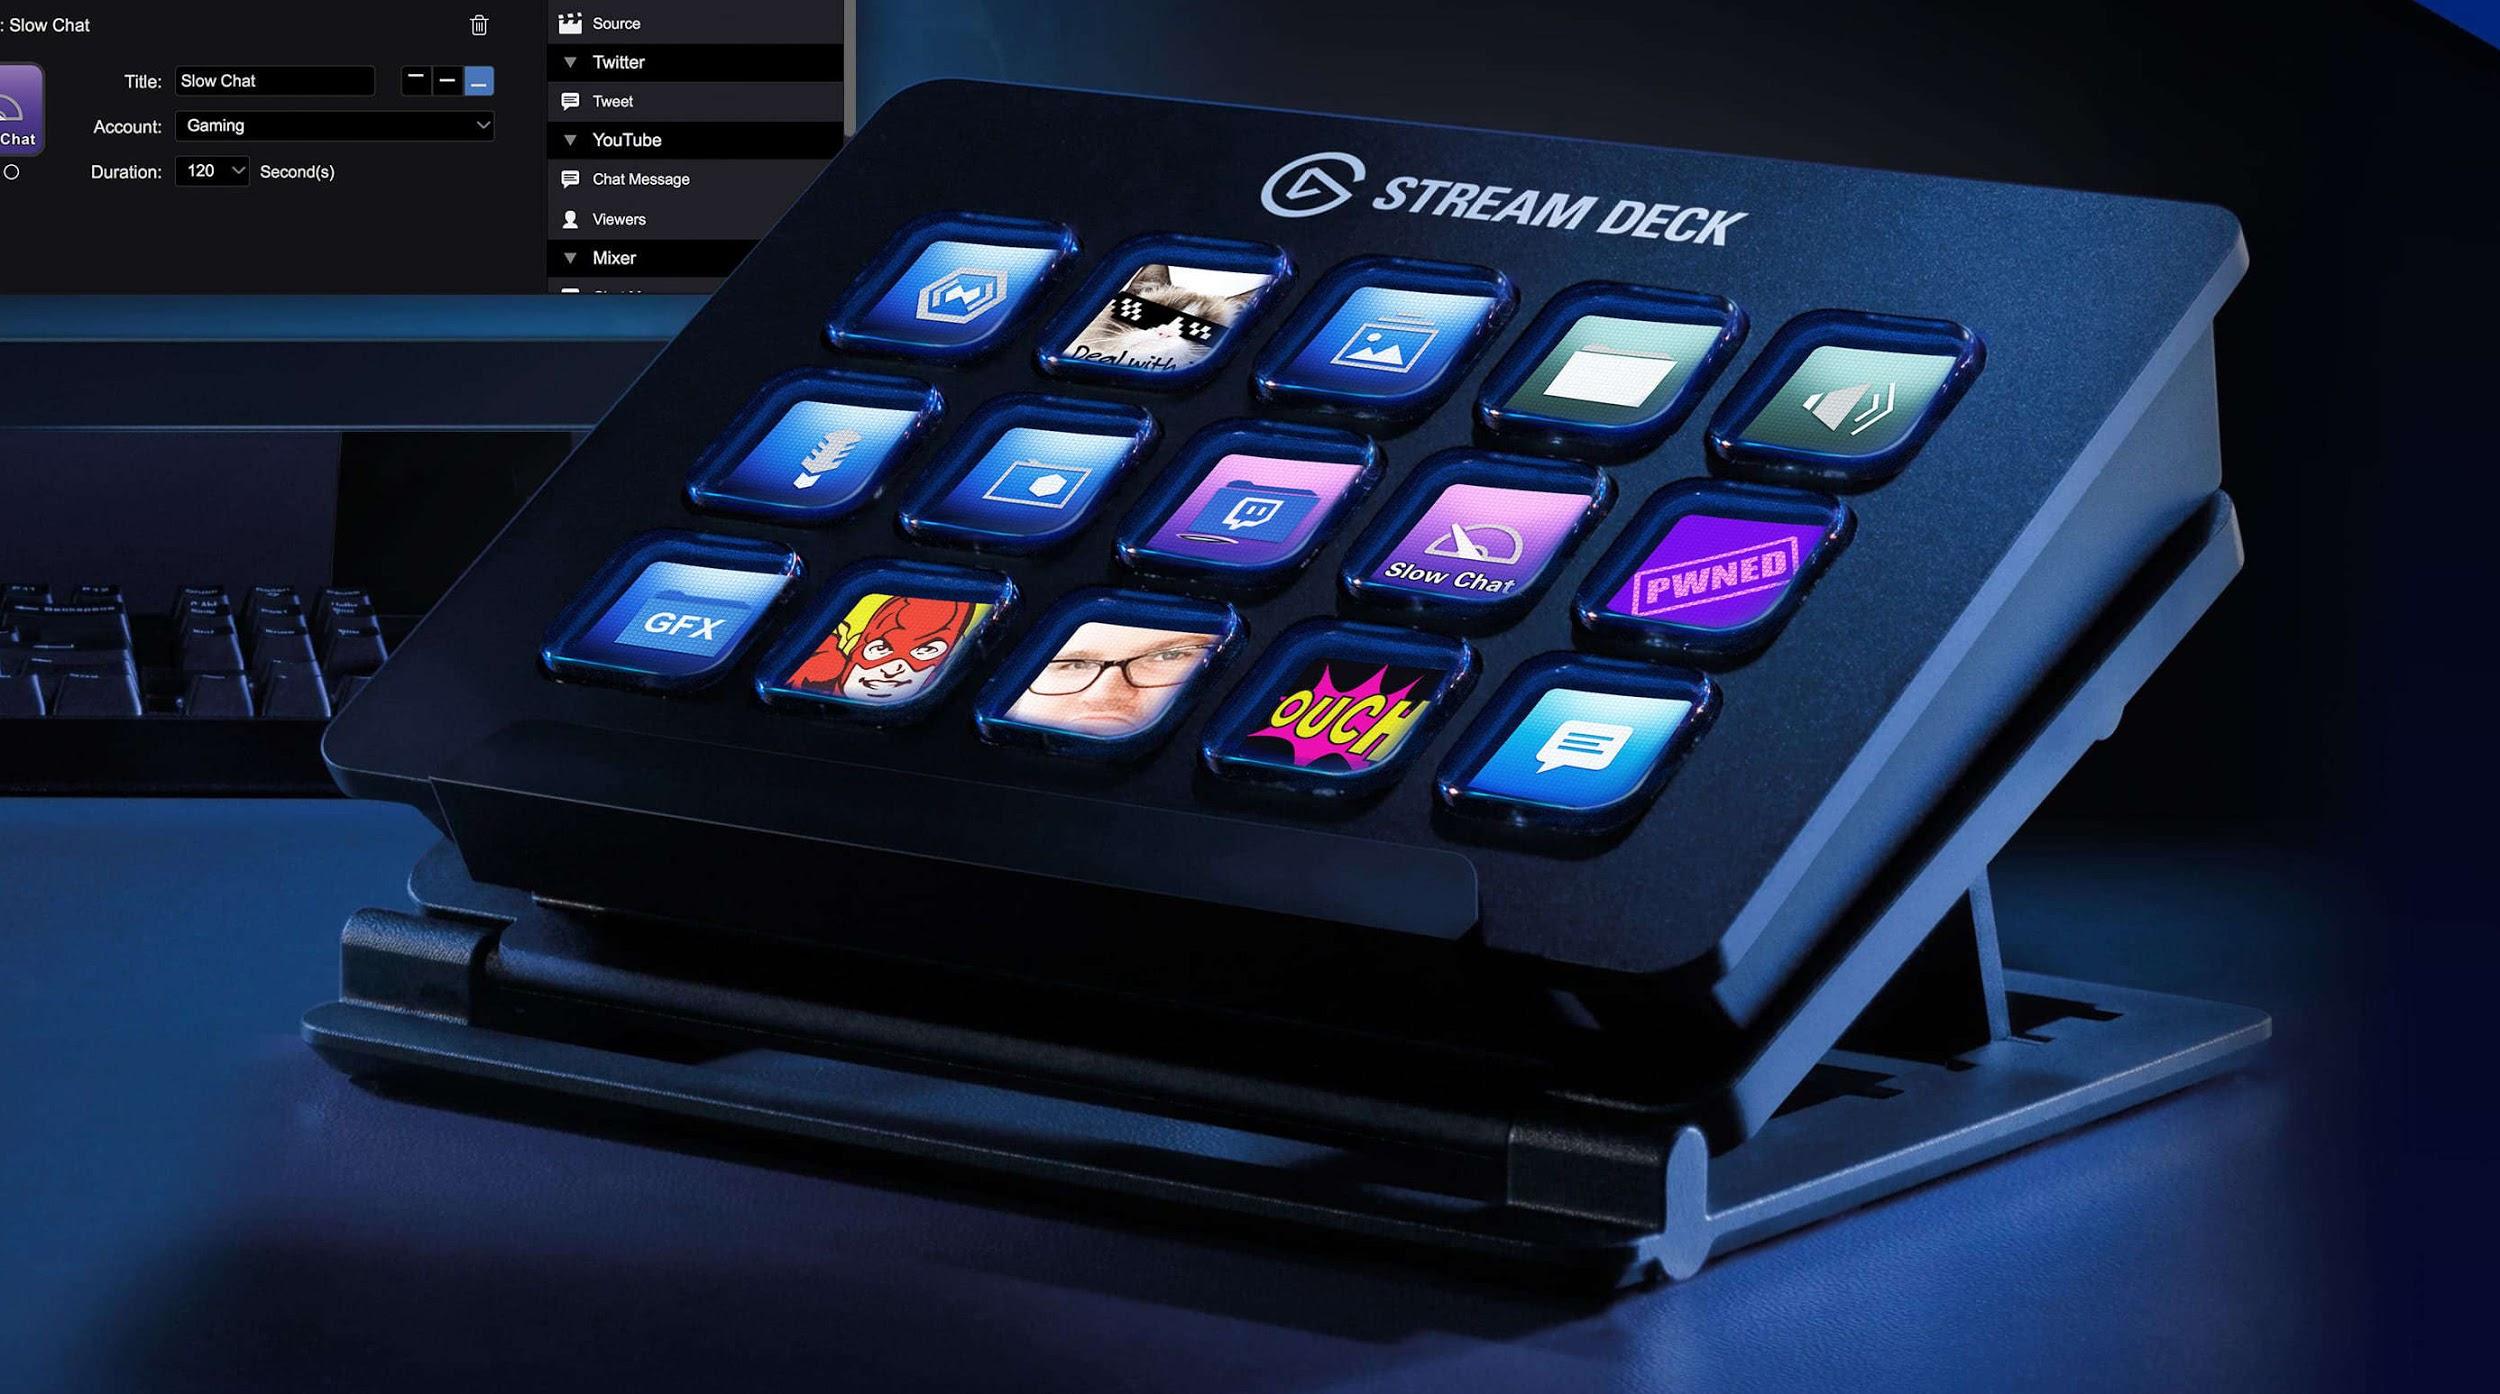
If you like switching cameras, a stream controller is the way to go. I ran my entire Twitch series using a USB numberpad I mapped using the HotKeys feature of OBS. For something a little cooler, ElGato makes a device called a Stream Deck, that gives you a customizable control panel for your stream.
OBS STUDIO SOFTWARE SETUP
The final step is getting your OBS Studio software ready set up to stream. OBS Studio is a free, open source streaming program. It’s great. There is also an alternative version called StreamLabs OBS, that includes free templates and designs ready to go out of the box. We’ll focus on setting up OBS Studio.
The program is straightforward, but there are a ton of options that can make or break your stream. I’ll walk you through the settings, then we’ll add our cameras. Hit the settings button to open the settings window.
Note: OBS has a “Stream Wizard” that can test your CPU and internet speed and automatically configure some settings. It’s worth a shot if you’re unsure of what your system can handle.
GENERAL: Nothing mission critical here (except maybe the Dark theme)
STREAM: This is where you select your service and input your stream key to ensure that your stream makes it to your channel. You’ll find your stream key in your Twitch dashboard. You won’t be able to stream until you enter a stream key.
OUTPUT: This is the really critical stuff. The main areas to pay attention to are Video Bitrate, Encoder, and Audio Bitrate.
Video Bitrate ~ The quality of the video stream. If this is too high for your computer or internet connection, you will get dropped frames and buffering. If it’s too low, your stream will look like trash. You want this as high as you can get it, usually between 2500 – 7500. The higher the number, the more data the stream will use.
I stream at 8000 when I do 1080p60, but at 3500 when I do 720p30. I’ve streamed as low as 1200 when I’m on WiFi.
NOTE: An ethernet connection will be a big help while streaming. Streaming on WiFi is possible, but it can degrade the quality of your stream, leading to dropped frames (missing video data), or it can cause your stream to go down unexpectedly.
NOTE: Different visual content affects video compression. Ever watch a high production streaming show like Game of Thrones or Star Trek Discovery and notice compression artifacts in dark or effects-heavy scenes? Even the pros struggle with this. For the best picture, you want a high contrast “predictable” image. Webcams deliver this automatically.
Encoder ~ This is the part of the computer making the stream. The default encoder is “Software (x264)” which means it uses the computer’s CPU. CPU encoding is totally fine, but if you try to use another CPU intensive task (loading browser tabs or opening apps) it may cause the stream to hang. If you have a GPU, you may be able to select it here.
WARNING: Avoid using “QuickSync” if you see it as an option. It is an older encoder from Intel that currently has a bug in OBS that can bring your stream down and require a restart before going live again. If QuickSync is the only way you can get your machine to reliably stream, be prepared to restart the OBS program if your stream goes down.
Audio Bitrate ~ This is the audio quality. I like to keep this at 192, and I advise against going below 128. Lower values will require less data, at the expense of audio quality.
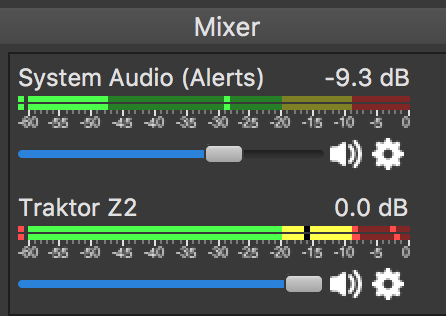
AUDIO: Here is where we tell OBS where our audio is coming from. I recommend setting everything to “Disabled” first, as you can easily select the same thing twice and cause distortion. There are 5 channels in OBS:
(2) Desktop Audio ~ This attempts to pull audio from an application or audio interface that’s playing. It’s possible you can select your DJ controller here. But that means any sound that comes though this devices gets delivered to your stream. “Default” will pick up your system’s audio.
(3) Mic/Auxiliary Audio Device ~ This is where you select your audio interface that’s receiving sound from your DJ Mixer, like the UCA222. You can also select a USB microphone here, if you don’t have a mic input on your mixer.
The audio that’s selected in the Audio Settings will appear in the mixer section in the main OBS window.
VIDEO: This is where you select the size of your video, and the settings chosen here can vastly improve performance. OBS gives you two options.
- Base (Canvas) is how big the windows is in OBS. It’s like your document size in Photoshop, the amount of pixels you have to work with.
- Output (Scaled) is how big your stream is. This is the final size of your stream your viewers will see.
TIP: You’ll save CPU if your Base Resolution and Output Resolution are the same. This avoids a process called “rescaling” which uses your CPU or GPU to alter the size of your stream layout before it goes out to the internet.
The bigger your stream’s Output Resolution the higher your bitrate will need to be to look good. If you’re just starting out, I strongly recommend streaming at 720p. I’d rather watch a sharp 720p stream over a blurry 1080p stream any day.
Streaming Resolutions
1080p = 1920 x 1080
720p = 1280 x 720
540p = 960 x 540
Downscale Filter ~ Used when OBS resizes the layout. I keep mine on Bicubic.
Common FPS ~ Set to 30. For real tho. 60fps is great for gaming, but it is literally doubling the workload on the encoder. Most webcams only send video at 30fps, so it is a safe bet to start.
HOTKEYS: Here’s where you can set hotkeys to change scenes, or hide / show things in your layout. Totally optional, you can always use the mouse to click on sources, even when you’re live. If you have a StreamDeck, you’ll configure that in a different app.
SETTING UP YOUR OBS STUDIO LAYOUT
We’re almost done! The last section of this guide will be setting up our OBS Studio layout with two cameras. If you’re into fancier layouts and features, check out StreamLabs OBS.
When you first open OBS Studio, it’s a blank slate. Let’s add our first camera.
- Click the + icon under the “Sources” box near the bottom left of the OBS windows
- Select “Video Capture Device”
- Select “Create New” and give it a name
- in the next window, select your camera in the “Device” dropdown
TIP: If its selected but not showing an image, you can try clicking “Deactivate” then “Activate” to refresh the camera. - Click “Configure Video” if you’d like to see options your device has. This will open up a different window if you have drivers installed.TIP: You can change “Resolution/FPS Type” from “Device Default” to “Custom” to gain access to the additional settings below. Change Resolution to the size of your OBS Canvas, if the camera appears small
- Click OK to close the window, and you’ll see it on the OBS Canvas. You can now click and drag, resize and move it around.
TIP: Right click on the source to get some options. Properties gets us back to the window where we set up the device. Filters opens up a new menu with a host of options and effects like Color Correction. Transform has useful controls like centering, rotating, and more.
TIP: Hold Alt (option key on mac) and drag the edge of a source to crop it.
CUTMAN’S LIST OF USEFUL OBS SOURCES
Here are the sources I use when building my layouts. Use this list to base your own stream layouts off of!
- Browser ~ A source that can view web pages. Use this to get interactive features from a service like StreamLabs.
- Display Capture ~ This will show your stream your computer’s display. Useful for production streams
- Game Capture ~ Similar to Display Capture, but made specificly to capture games and fullscreen windows
- Image ~ Add an image to the layout, supports transparents PNGs and animated GIFs I almost always have a GIF running somewhere on my stream. This is also great to place logos!
- Image Slide Show ~ Add a slideshow of images with options for transitions. Can be a nice for background or to show off a collection of Image or Video content
- Media Source ~ You can select a video file to play on your stream.
- Text (GDI+) ~ A simple source where you can write text. Can be updated in real time while streaming. For more options, download and install the OBS plug-in “Text Source Using Pango”
- Video Capture Device ~ Adds a camera or capture device to the scene
- Window Capture ~ Adds a specific window that’s open on your computer. If you are streaming on the same computer you’re DJing on, you can use this to grab your DJ Software’s interface for use in your layout.
SOURCES I’VE LITERALLY NEVER USED
- Audio Input Capture ~ I’ve never used this one, as we set our audio sources in the Settings window. It allows you to add an audio input like USB Interface to a specific scene
- Audio Output Capture ~ Allows you to add a Desktop Audio source to a specific scene.
- Scene ~ You can add an entire scene to your…. Scene… I guess?
- Color Source ~ Solid color that can be added at any size. Nice for filling in gaps or making a background color.
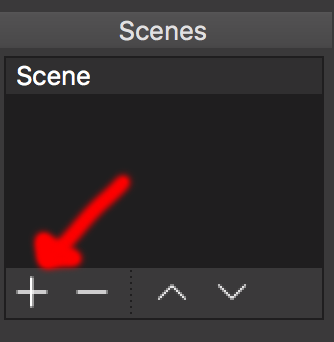
CREATING A SLATE SCENE
It’s useful to have a scene in your layout with no camera. Good for taking a short break, or putting out fires. Click the plus button to add a new scene. Scenes can be switched live, simply click the Scene name in the OBS window, use a Hot Key, or Stream Deck.
I like my slates to be super simple, a background and text is usually all I do.
TIP: It’s helpful to go live with a slate, allow your followers to come into the room and start chatting, then begin your performance.
Wooh! Thanks for reading my guide, I hope you found it useful. If you’re interested to see what I’ve created using these techniques, check out the archive of my Twitch show This Week in Chiptune. The series ran for five years and I hosted over 200 live sets. I’m still on Twitch, but I’ve been mostly doing production lately.
If you’ve got any questions, leave a comment – or hit me up @VideoGameDJ on Twitter and Instagram. If you’re interested in hearing my music, check out Dj CUTMAN on Spotify, Apple Music, and YouTube.